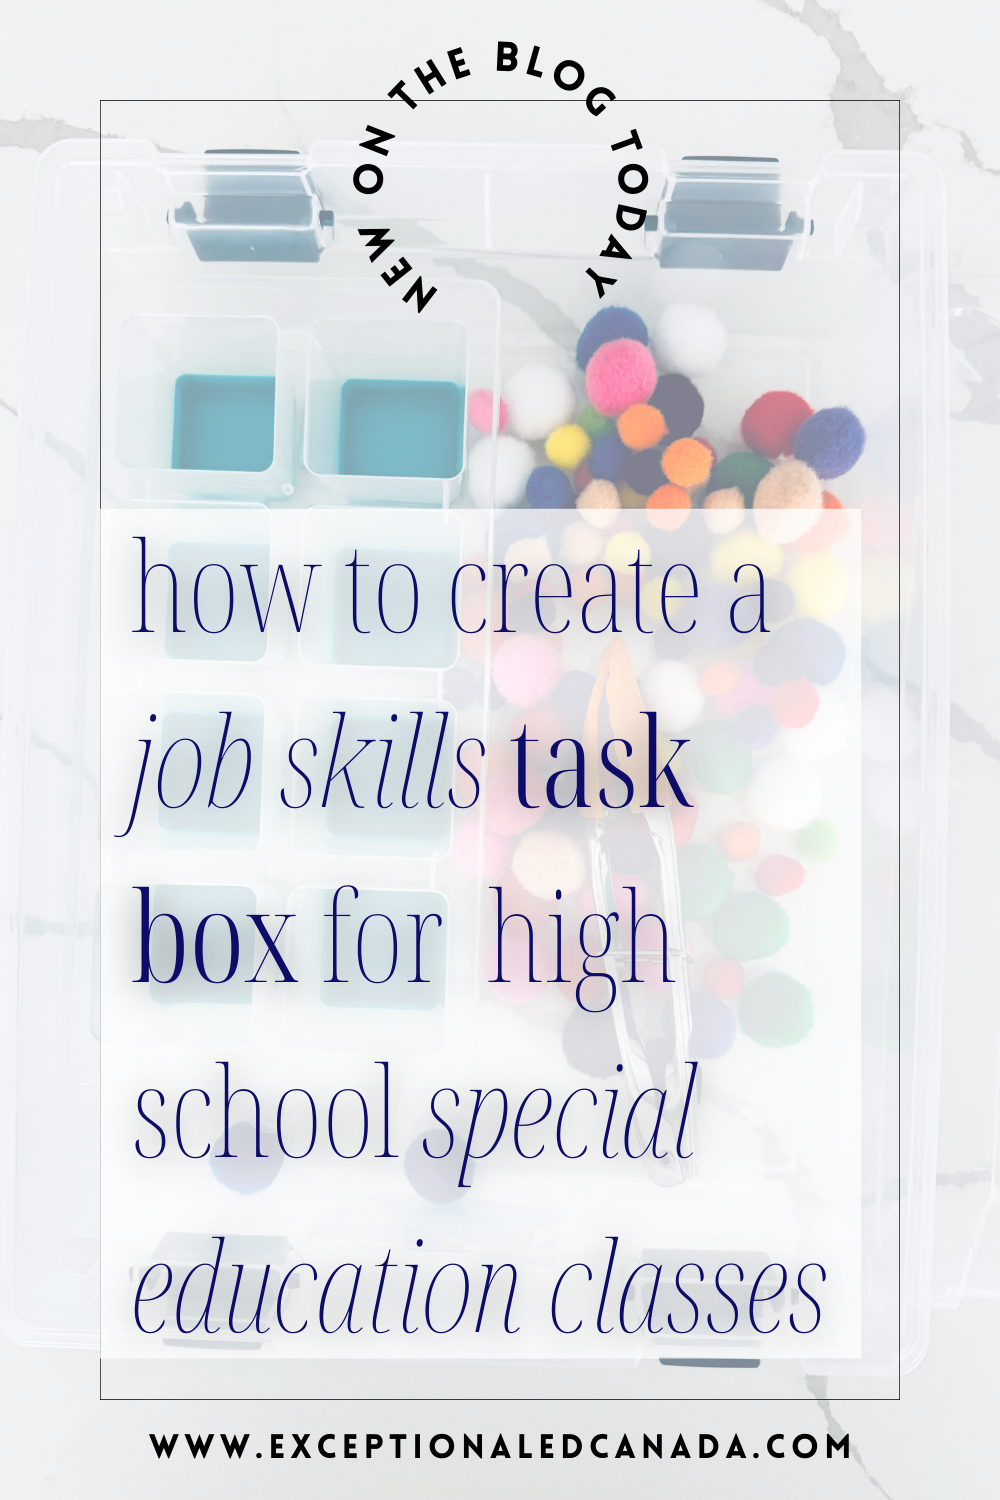
Why do we a need to have task boxes in our job skills programs?
Creating a job skills task box for high school special education classes can be overwhelming. While all students with special education needs should be working on life skills, this is especially important for high school students to prepare them for life after they graduate.
One of the main goals that I have when I am planning for students in a high school special education classroom is to prepare to go to work and to live independently. While this may not be the goal for all students, there are life skills that all students will need, regardless of what they will be doing when they graduate.
One way that teachers and parents can focus on life skills and job skills is to use task boxes.
These are specifically created to align with the student’s current abilities and needs. I always connect the skills in the tasks to future job and life goals for each student.
There are many different things that can be considered a task box.
Check out my blog post that breaks down everything you need to know about task boxes for high school.
Ultimately, a task box for high school, or older elementary classes, is a highly structured activity that allows a student to focus on a specific aspect of a particular job or life skill. It is hands-on in nature and students should work toward being able to complete the task independently.
Job Skills task box for high school blog series
In this blog series I am going to be sharing different job skills task box for high school ideas for you to recreate in your own classroom.
I have always found it challenging to find ideas for task boxes, and I want to share everything that I have learned over the years.
Everything that I use in the task boxes that I am sharing is easily purchased at a dollar store and I try to keep them as inexpensive as possible.
I am not linking any products here for purchase, however if you are having trouble finding something, reach out to me and I will do my best to help!
What’s in the task box
For the first task box that I will be sharing, you will need:
- A storage box
- An ice cube tray
- A pair of tongs
- A bag of pom poms in various colours
When I purchased the items for this task box set at the dollar store I paid under $10 Canadian. This will vary depending on where you live and the cost of each item.
What skills are being taught in this Job Skills task box
This task box focuses on several life and job skills that a student needs.
First, using the tongs to move the pom poms allows students to practice fine motor skills.
Second, students are working on colour matching skills as they place the pom pom in the corresponding section.
Third, students are following a sequence of images to complete a task which helps them to learn to complete procedural tasks. This is something that will be useful for students going to work where they will have to do tasks like stocking shelves.
Task box procedure
Here are the images and steps that I would use when going through this specific task box activity. For each one, I would include a short, written sentence of what students should do in each step. You can see what I would write in the caption for each photo.
Step 1
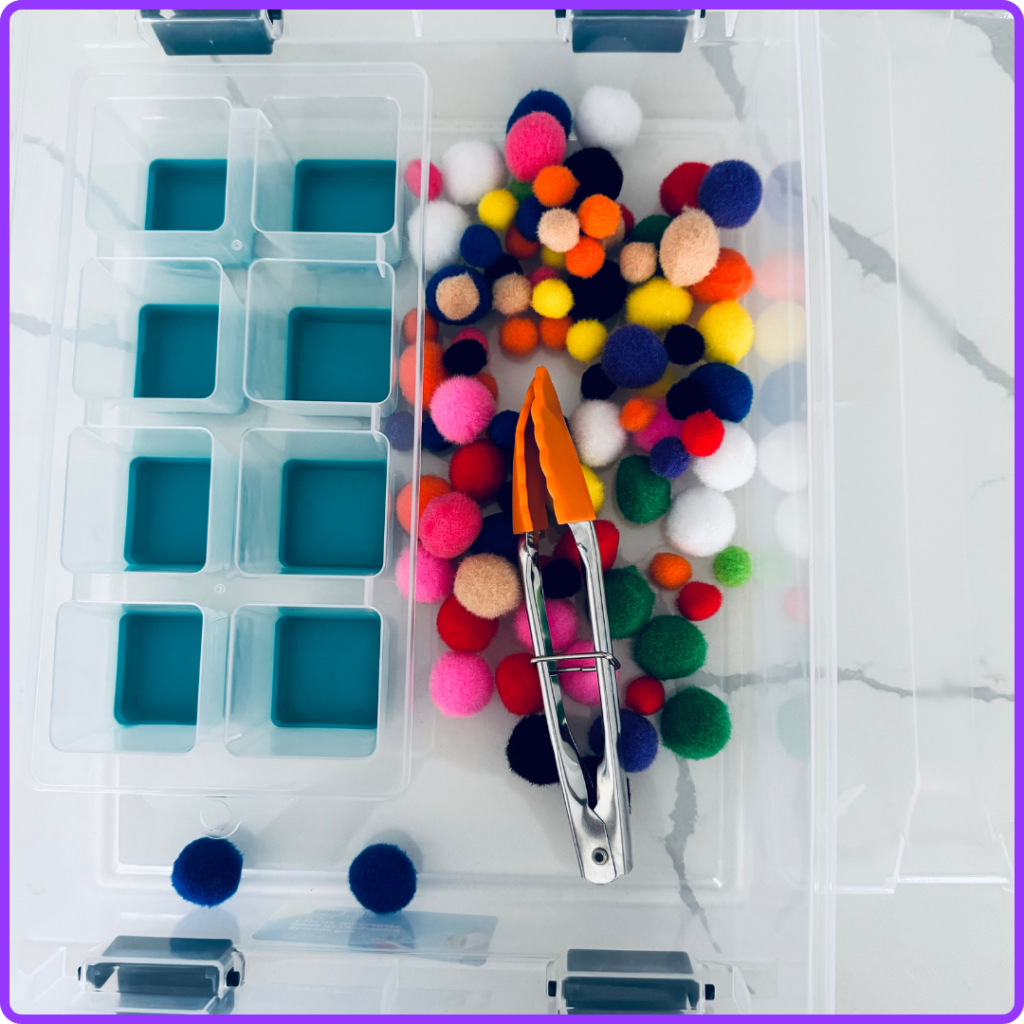
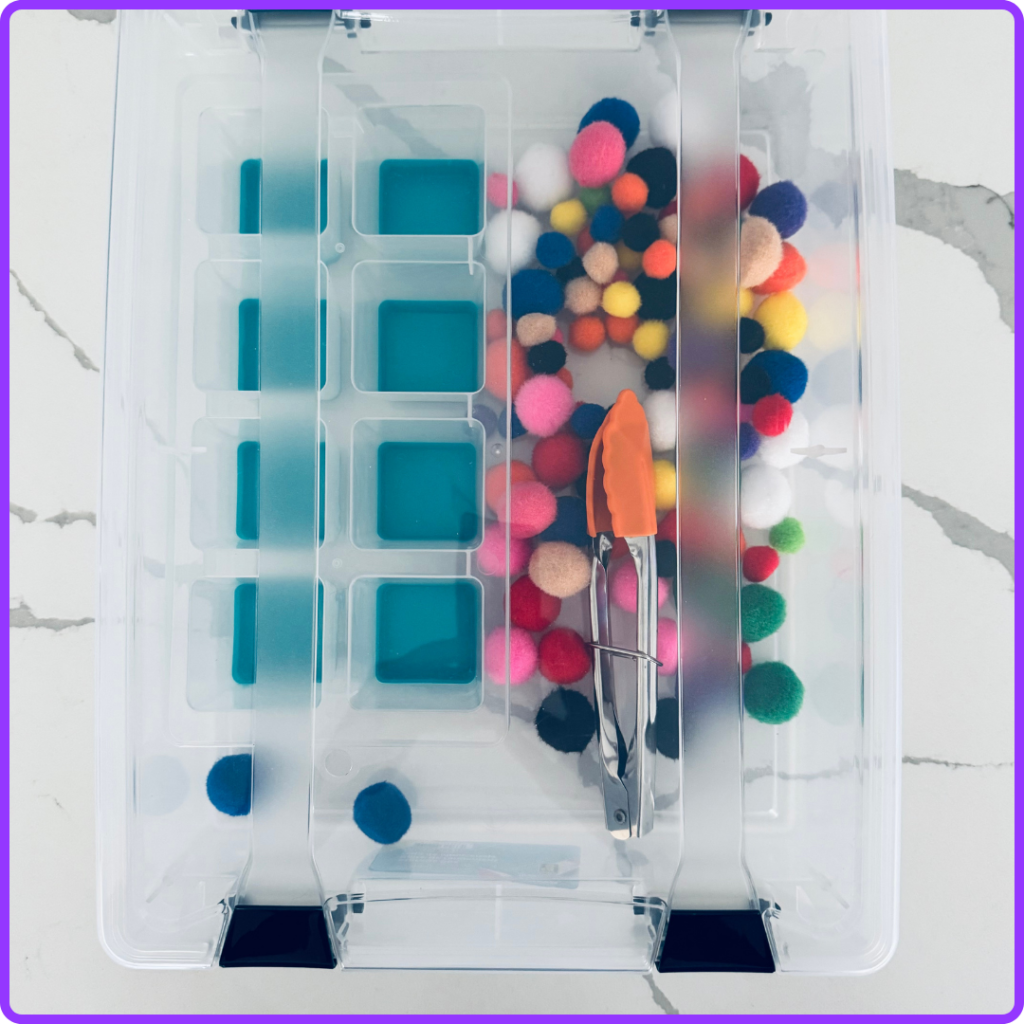
The first image shows the student what the task box looks like when they open it up. Here you have the ice cube tray, tongs, and pom poms in a plastic storage bin.
I would write: Get your task box and bring it to your work station.
Step 2
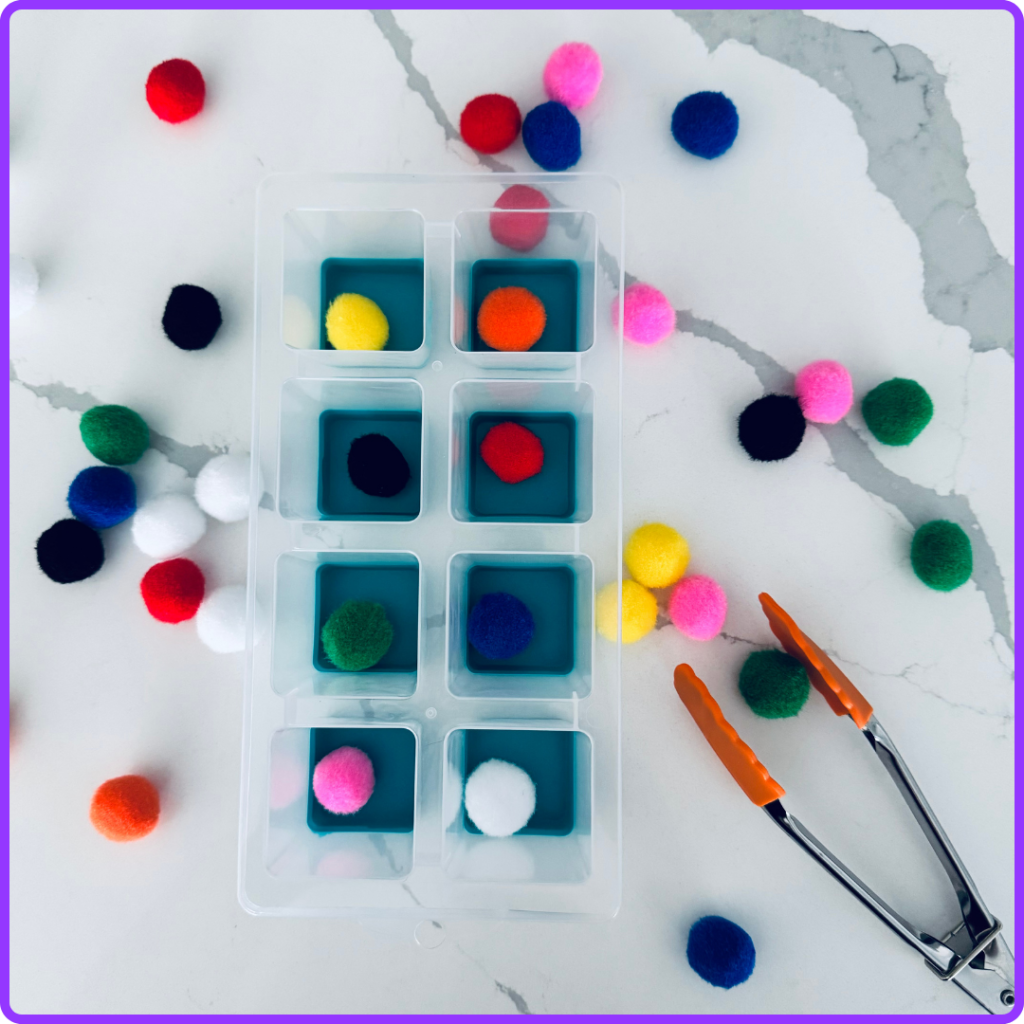
The next image is the setup at the beginning of the activity. There should be one of each colour that the student will be matching in each cube. If students are only working on 3 colours, then there should only be 3 colours in the tray. These can be repeated, or you can leave the other ones empty.
I would write: Pick up the tongs.
Step 3
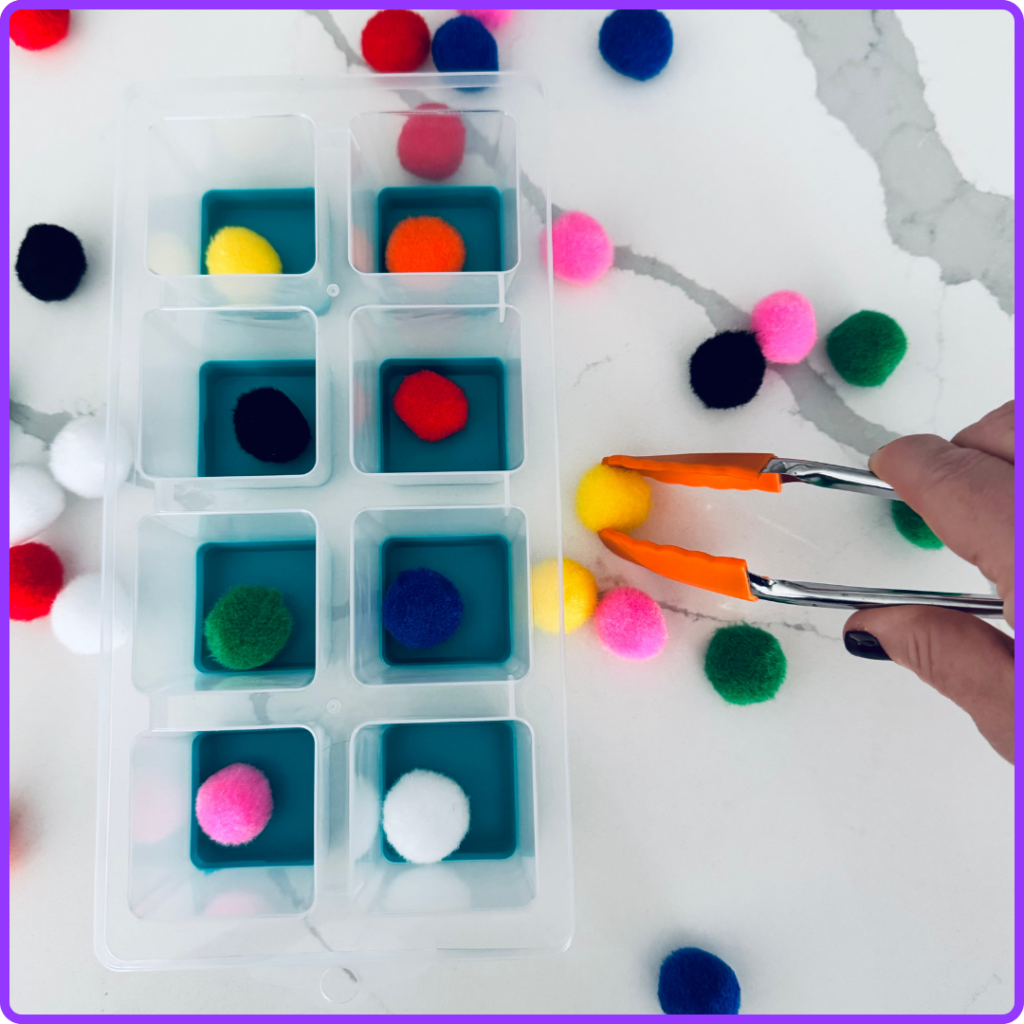
This is the first thing students need to do when they begin the task. They take the tongs and select the pom pom that they are going to match. If the students need this broken down further, you can add another photo picking up the tongs.
I would write: Pick up a pom pom with the tongs.
Step 4
This image shows the student moving the pom pom toward the correct spot in the tray. If they don’t need the steps broken down this far, you can skip this one.
I would write: Find the spot with the same colour pom pom.

Step 5

This next step shows how to place the pom pom in the correct spot.
I would write: Place the pom pom in the spot with the same colour.
Step 6
If you want to add another colour as the next step, you can repeat the images using a different colour. Some students might not need this extra visual.
I would write: Choose another pom pom with the tongs.

Step 7
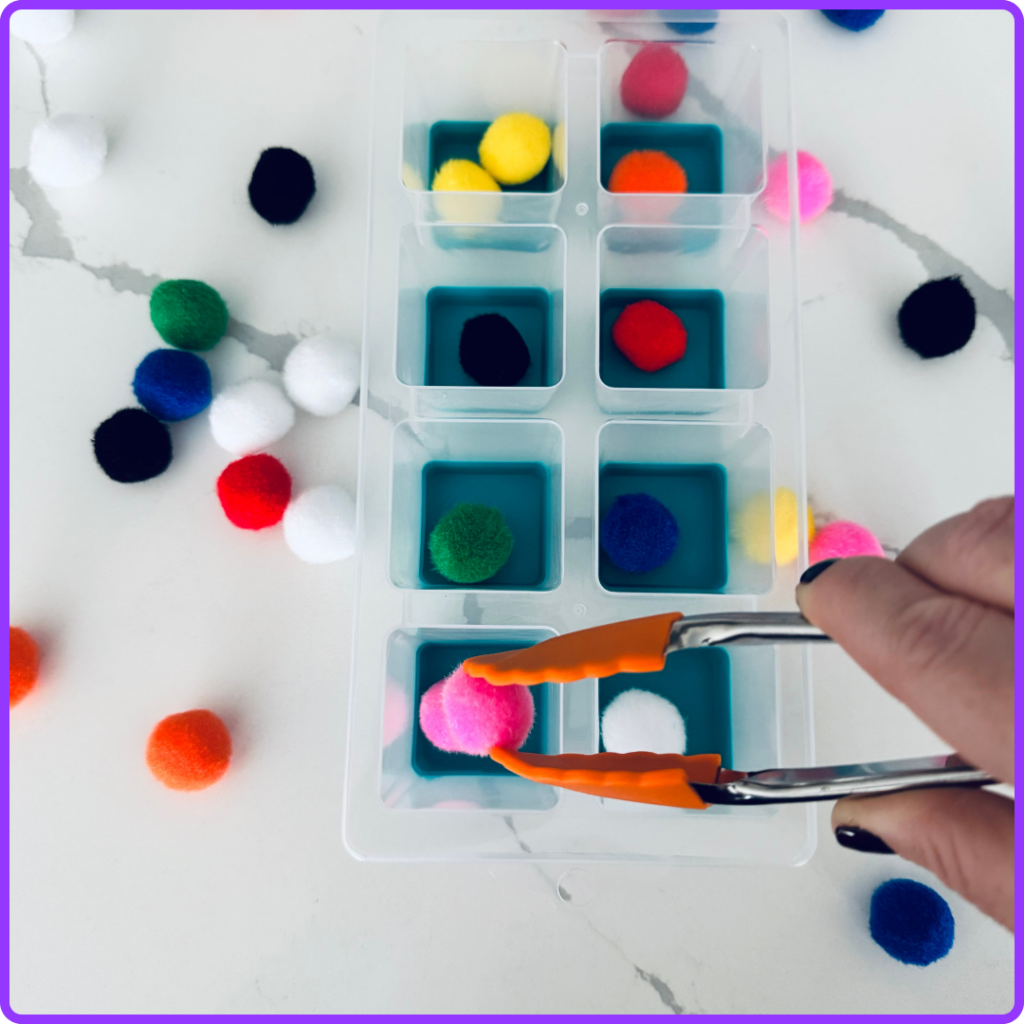
This step shows moving the second colour to the correct spot.
I would write: Find the spot with the same colour pom pom.
Step 8
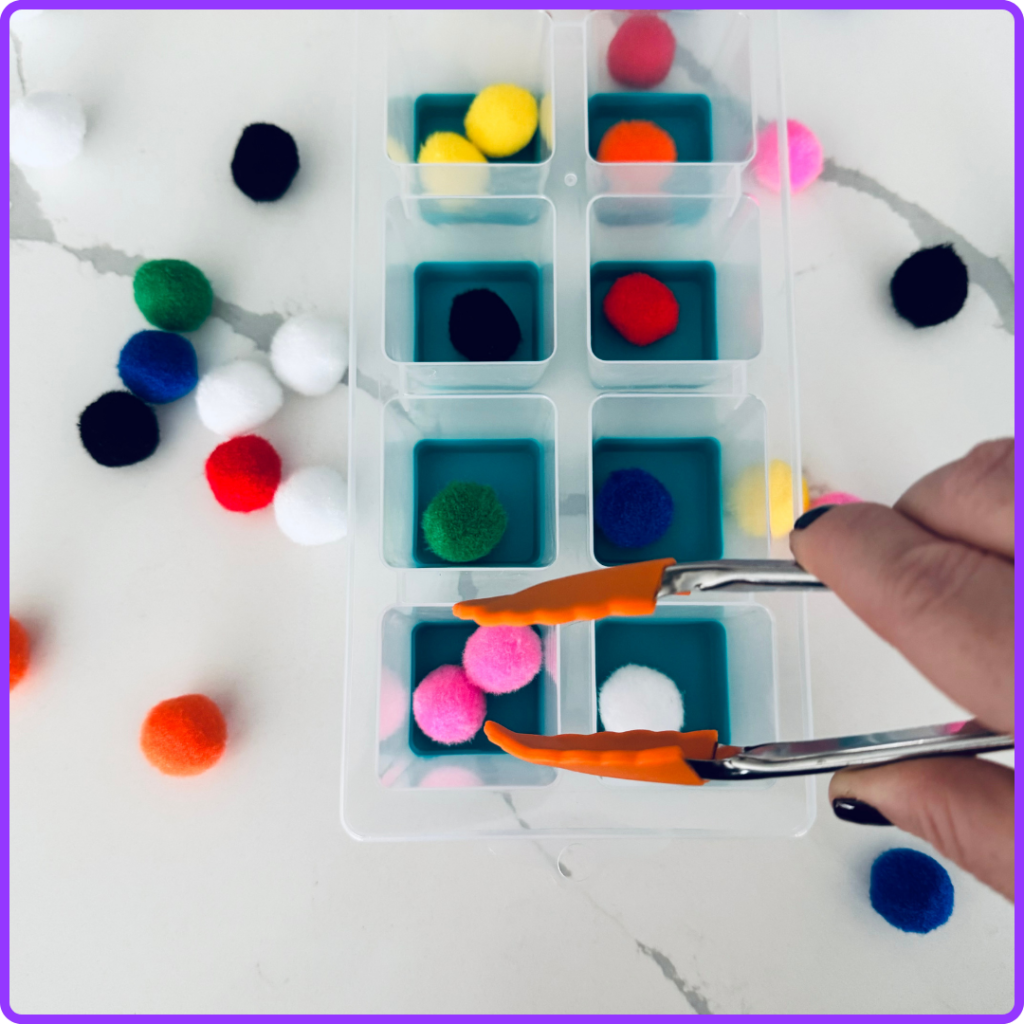
This is the last step in the second colour where the pom pom is placed in the correct spot.
I would write: Put the pom pom in the spot with the same colour.
Step 9

This image is a repeat of the first one showing the task placed in the organizational bin. This is a cue for students to put the task away. You could also have an image that has all of the pom poms in the correct spots.
I would write: All finished.
Step 10
This image shows what the whole task box looks like when it is packed in the organizational bin.
How to teach the task box skills
The first time students see the task box, it is a good idea to let them explore the items as they would like to. This prevents distraction when they are receiving direct instruction because they have already seen the objects inside the box.
I start with a direct teaching session with the student. I will also do this with a group as you are trying to show how the task works.
If there are students who need a visual to accompany the task, you can take a picture of each step with the actual items you have purchased. Print these and have them laid out for the student to follow.
When working directly with a student, I will show them how I want them to complete the task. If there is a visual task strip (the picture showing each step), then I will model how I refer to the steps when I complete each step.
Next I will have the student attempt the task with me there to provide prompts as needed.
Once the student understands the task, I will reduce the levels of prompts that I provide.
This is very dependent on the student and how long it takes them to understand the task. If a student needs longer to understand the task, you can break it down and have them complete only one step before adding more steps to the sequence.
Once you have done the direct teaching, you can also have a support worker do the task with the student until they are ready to work more independently.
Using the task in an independent work system setup
Once the student can complete the task independently, I would then add this task to their independent work options.
Look out for a future post all about setting up and implementing independent work stations in your special education classroom.
Sample iep goals
When I use this colour matching task box in my high school special education classroom, here are a few IEP goals I would use:
- Student will follow a matching task sequence using 3 different colours and will successfully match all 3 colours every 3 out of 5 attempts.
- Student will match coloured objects independently 1 out of every 3 attempts using a set of 5 different colours.
- With visual prompting, student will follow a colour matching sequence to match 7 different colours every 4 out of 6 attempts.
These are just suggestions for IEP goals that can be used. If you need some help writing your IEP goals, check out my blog post here to help you write yours!
How to organize and store the boxes
Organizing and storing task boxes is very dependent on your classroom setup. The amount of space you have and the types of storage shelves you have available will affect the choices for organization that you make.
In my classroom, I like to use cubby type shelves so that I can put one task box on each shelf. I have had classrooms in the past that don’t have these types of shelves and have used storage bins that can be stacked on larger shelves.
For some task boxes that don’t have large objects, you can use zipper storage bags and keep them organized in a filing cabinet.
The important part is that there is a way for students to find the task that they are working on without adult support. For this I use a task strip that has the number of tasks a student will be working on in their work block. On the student task strip I put a small version of an image tag that corresponds to a larger version of the same image on the shelf where the task is stored.
I have created a resource which is what I use when organizing my task boxes:
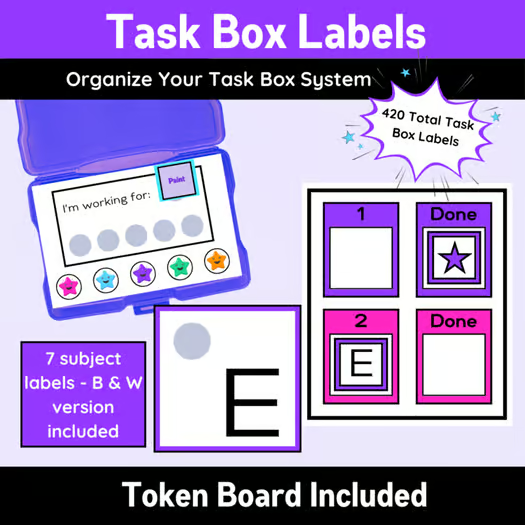
Click here to check out this product in my TPT shop
What would you like to see next?
I would love to hear from you with any questions you have, how things are working in your classroom, or requests and suggestions for future blog posts or resources. Reach out to me here!
As always, thanks for joining me on this journey and I hope this has been helpful for you in your classroom.
